Metal cutting to measure
Lathe work
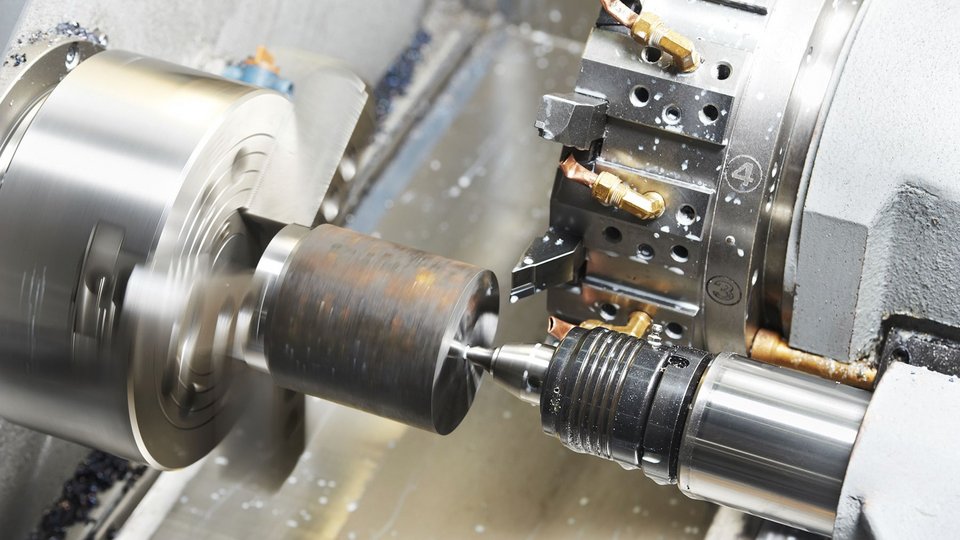
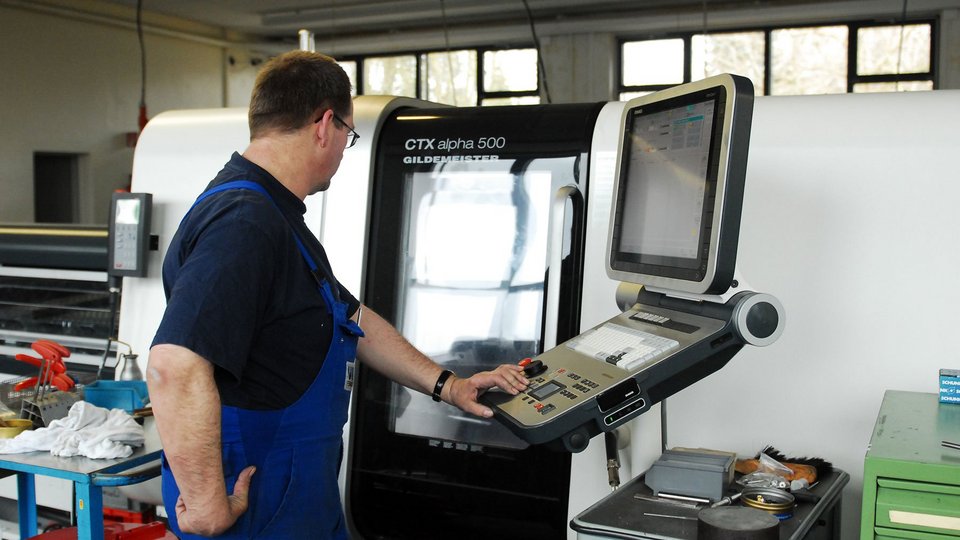
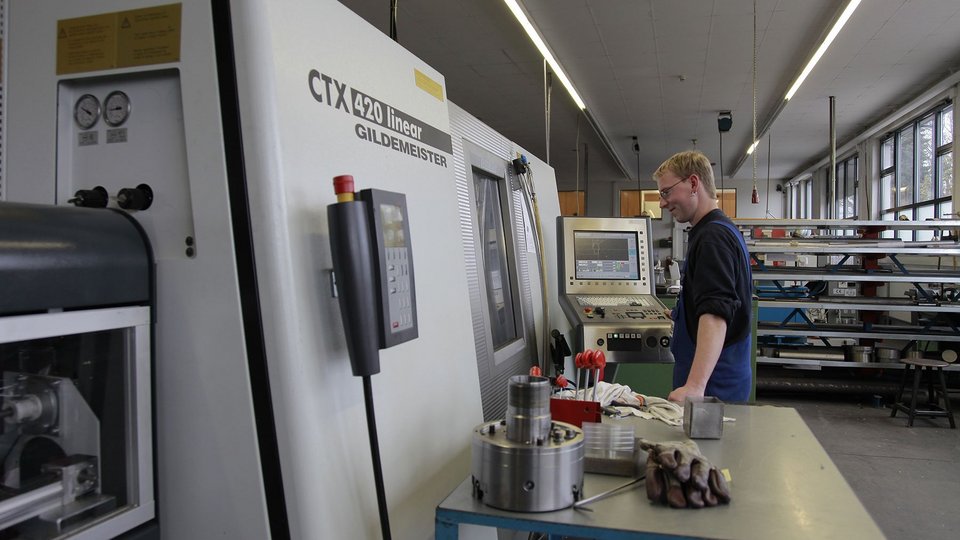
In the lathe work sector, we are machining different types of steel, stainless steel, brass, aluminium, titanium, nickel, and many other materials – including plastics in different compounds. In order to meet our customers' high expectations and to be able to guarantee short delivery times, we employ state-of-the-art computer-aided machinery, such as the Gildemeister CTX 420 linear, which ensures the highest possible degree of precision.
This CNC turning lathe (capable of machining also the back of a work piece) with driven tools also allows drilling and milling operations. Round, square or hexagon material is automatically fed.
Metal cutting to measure
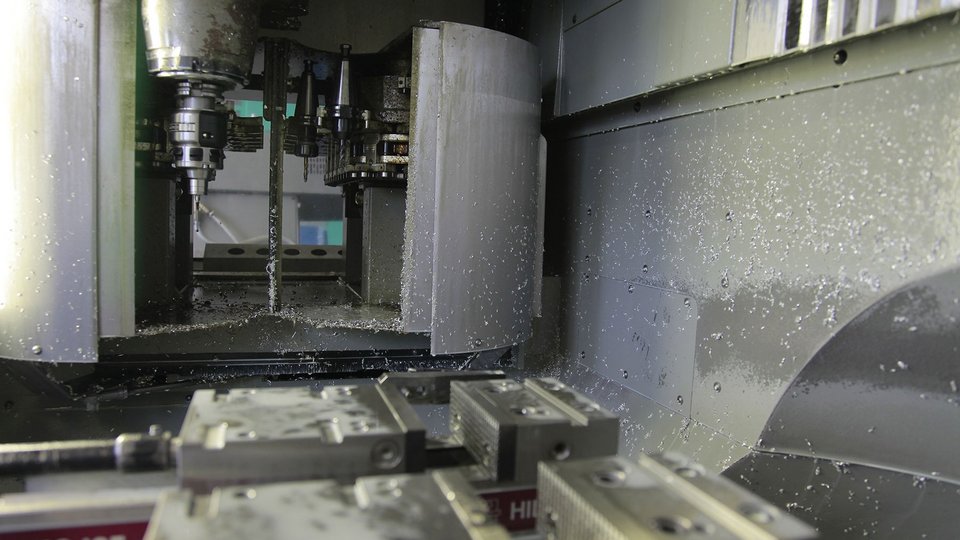
Milling work
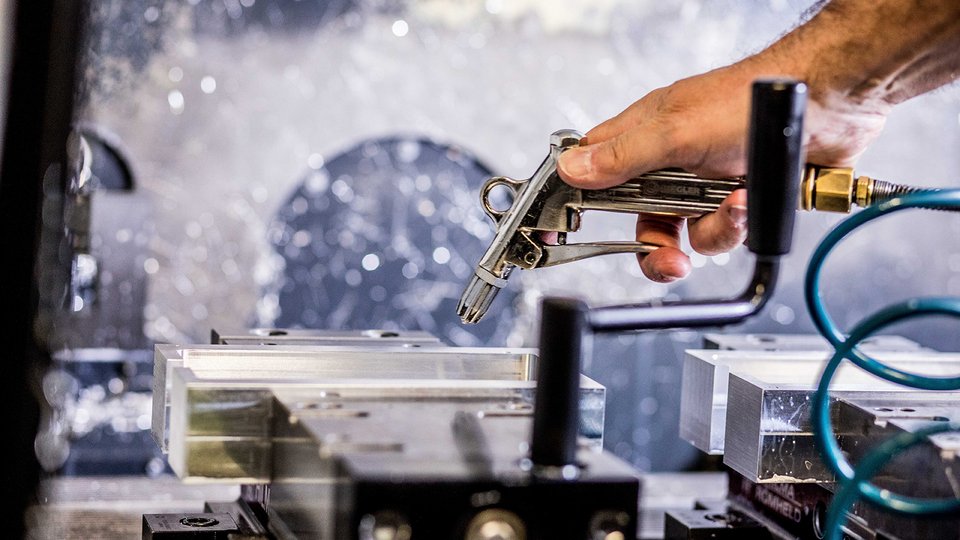
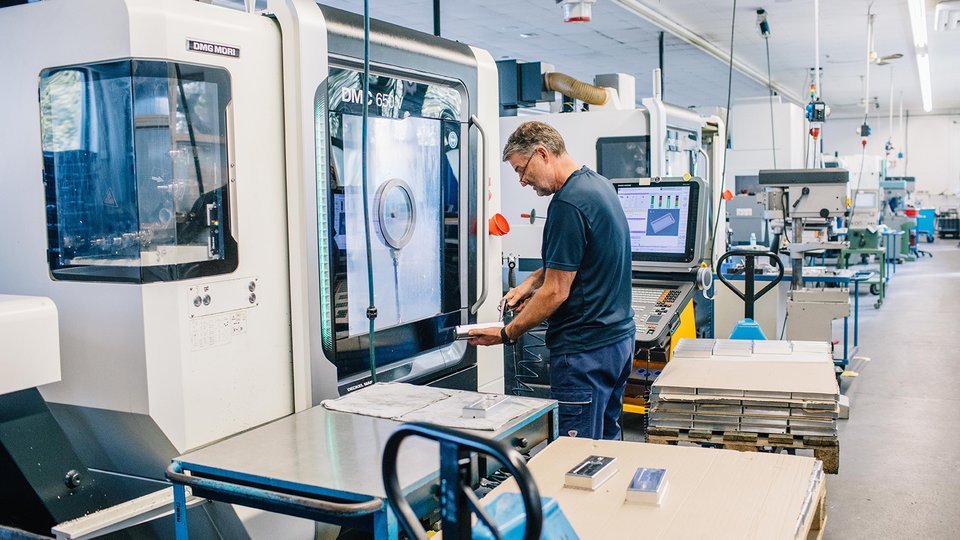
In the milling work sector, we are machining different types of steel, stainless steel, brass, aluminium, titanium, nickel, and many other materials – including plastics in different compounds.
In order to meet our customers' high expectations and to be able to guarantee short delivery times, we employ state-of-the-art computer-aided machinery, which ensure the highest possible degree of precision.
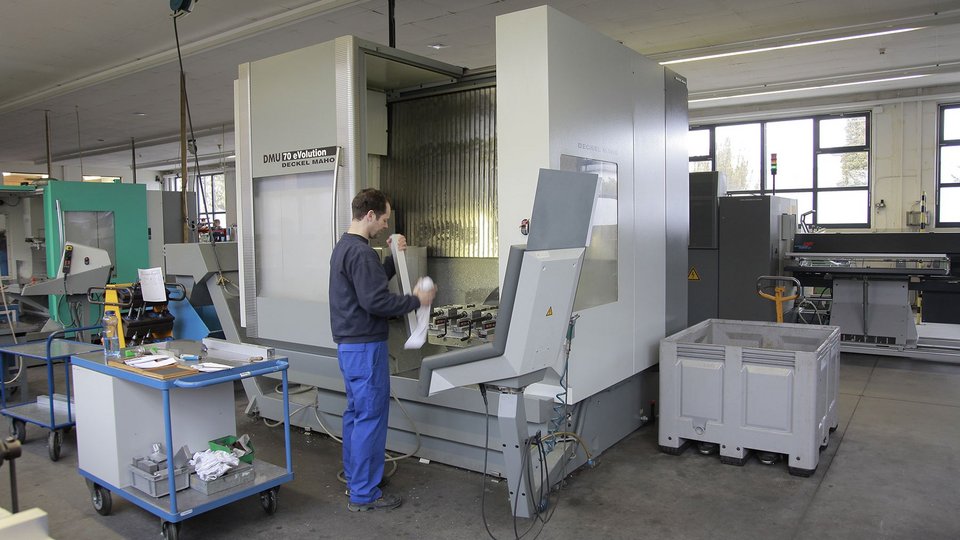
For milling work, a DMU 70 evo is used. It combines the advantages of a universal milling and drilling machine with those of a vertical machining center.
